![[IMG=full]](http://www.tonymacx86.com/images/installationguide/ubyo1.png)
UniBeast is a tool that creates a bootable installer out of your downloaded version of OS X. In order to start fresh, you'll need access to a functional computer running Mac OS X Snow Leopard 10.6.8 or later. This is a requirement, as you need access to the Mac App Store to download OS X and create the installation drive. To start from scratch, booting the 10.6 Snow Leopard Retail DVD directly, check out iBoot + MultiBeast.
Table of Contents
![[IMG=full]](https://www.tonymacx86.com/images/installationguide/mb_install.png)
Before You Begin
1. Register here at tonymacx86! If you don't have a user account, create one!
2. Get our latest MultiBeast and UniBeast tools from the downloads section.
3. Purchase a 8GB or larger USB drive.
4. Do a full backup of your system
The following guide is meant as a fresh installation method. To perform an update from OS X Mavericks to OS X Yosemite, saving system settings, data, and apps follow this guide.

STEP 1: Download OS X Yosemite
The full operating system is a free download for anyone who has purchased Mac OS X Snow Leopard, Lion, or Mountain Lion, or a Mac preloaded with Mavericks. Download the Application from the Mac App Store using your Apple ID on any Mac or functional computer running Mac OS X 10.6.8 or later.
- Open Mac App Store
- Log in with your Apple ID
- Download OS X Yosemite
STEP 2: Create a Bootable USB Drive with UniBeast
Take a deep breath and take your time- this is pretty simple, but it's easy to miss things if you rush. Follow each step to the letter.
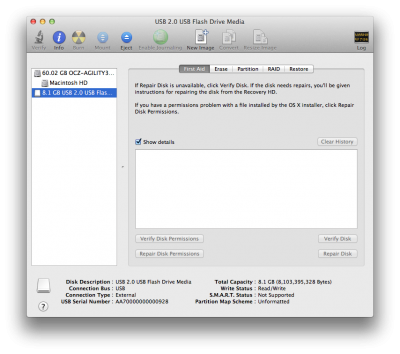
- Insert the USB drive
- Open /Applications/Utilities/Disk Utility
- Highlight the USB drive in left column
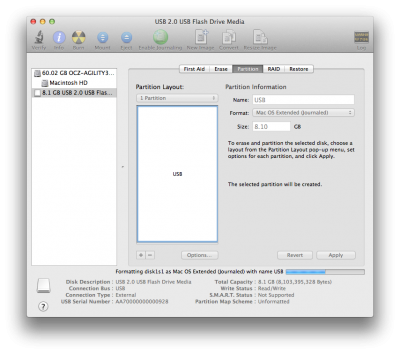
5. Click Current and choose 1 Partition

7. Choose Master Boot Record

8. Under Name: type USB (You can rename it later)
9. Under Format: choose Mac OS Extended (Journaled)
10. Click Apply then Partition
9. Under Format: choose Mac OS Extended (Journaled)
10. Click Apply then Partition
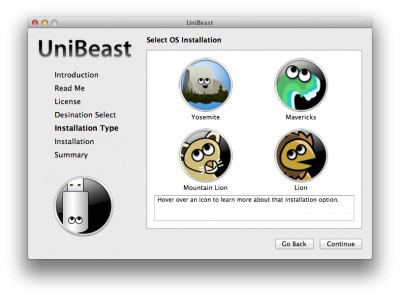
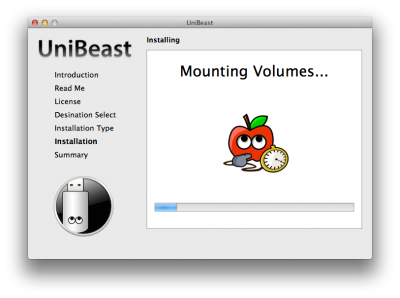
11. Download and run UniBeast
12. Click Continue, Continue, Continue, Agree
12. Click Continue, Continue, Continue, Agree

13. At Destination Select, choose USB and click Continue

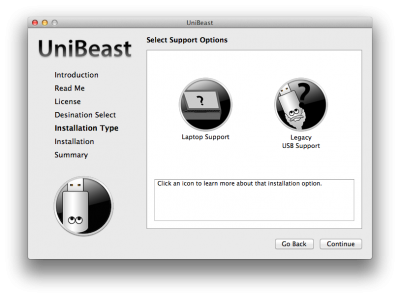
15. Click Continue
17. If using a laptop, choose Laptop Support
18. Click Continue
20. Drag MultiBeast to your completed USB drive.
STEP 3: Recommended BIOS Settings
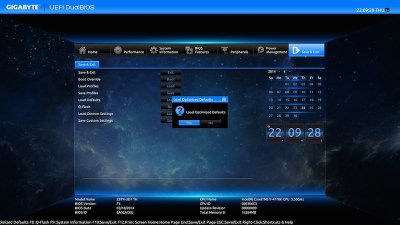
If you're installing on a recommended CustoMac desktop with AMI UEFI BIOS, the options are simple. For other systems make sure to set your BIOS to Optimized Defaults, and your hard drive to AHCI mode. Here are standard AMI UEFI BIOS settings for Gigabyte AMI UEFI BIOS, Gigabyte AWARD BIOS, ASUS AMI UEFI BIOS, and MSI AMI UEFI BIOS.
- To access BIOS/UEFI Setup, press and hold Delete on a USB Keyboard while the system is booting up
- Load Optimized Defaults
- If your CPU supports VT-d, disable it
- If your system has CFG-Lock, disable it
- If your system has Secure Boot Mode, disable it
- Set OS Type to Other OS
- Save and exit.
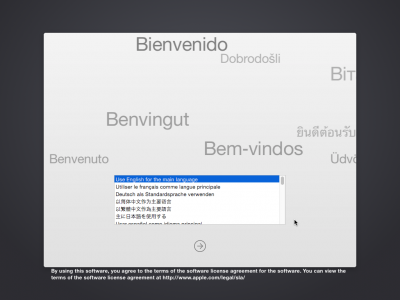
STEP 4: Install OS X Yosemite
You're almost done! All you need to do is boot from the USB drive and install!
- Turn on the computer
- Press the hotkey to choose boot device (usually F12 or F

- Choose USB-HDD
- At the Chimera Boot Screen, choose USB and hit Enter


a. In the top menu bar choose Utilities, and open Disk Utility
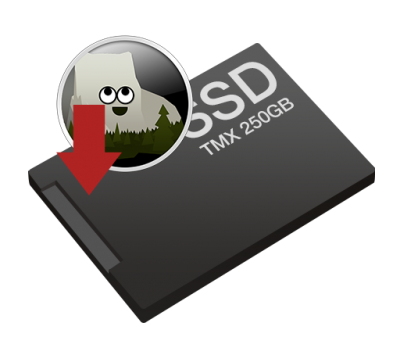
b. Highlight your target hard drive for the Yosemite installation in left column.
c. Click Partition tab
d. Click Current and choose 1 Partition
e. Click Options...
f. Choose GUID Partition Method
g. Under Name: type Yosemite (You can rename it later)
h. Under Format: choose Mac OS Extended (Journaled)
i. Click Apply then Partition
j. Close Disk Utility

8. Upon completion, restart the system.

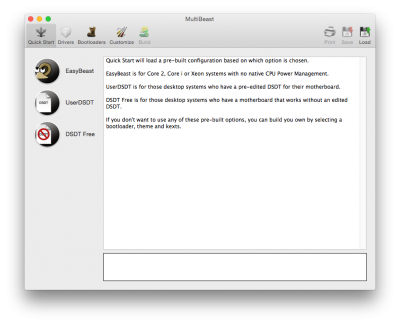
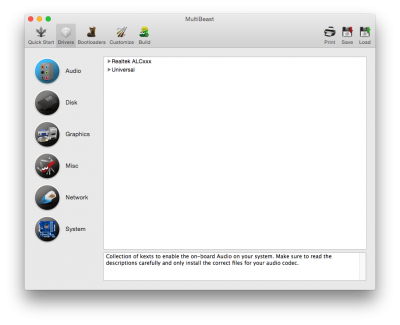
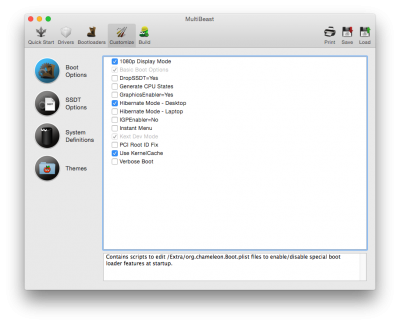
STEP 5: Post-Installation Using MultiBeast
MultiBeast is an all-in-one post-installation tool designed to enable boot from hard drive, and install support for Audio, Network, and Graphics. In addition it includes System Utilities to repair permissions and a collection of drivers and config files. The installation is complete, but the drive isn't bootable yet. Boot from the USB again, this time choosing Yosemite.
1. Turn on the computer
2. Press the hotkey to choose boot device
3. Choose USB-HDD
4. At the Chimera Boot Screen, choose your new Yosemite installation.
5. Complete OS X Yosemite setup

11. Click Build then Install


Post a Comment